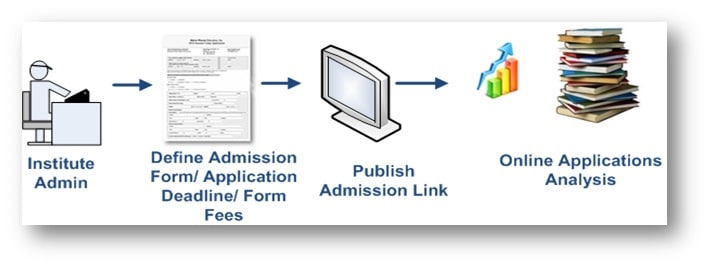
Admission process if executed manually can involve lot of activities including design of application form, printing of forms/ Challans, distribution of forms to students, payment collection, shortlisting of candidates. Such process may result in delays, manual errors and cost associated with it is high compared to fully automated process.
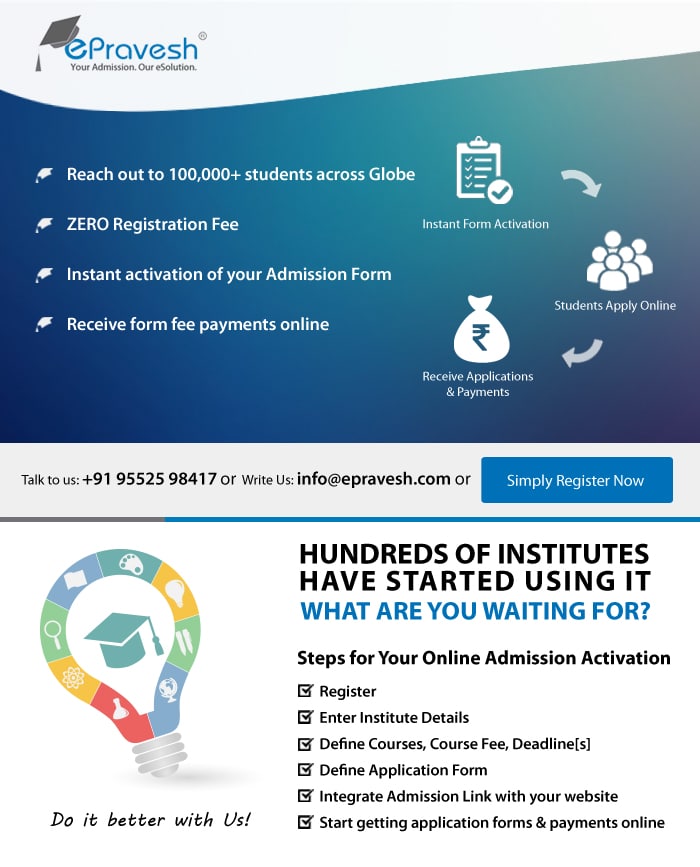
ePravesh® has recently added features which can help you to start online admission/ enrolment process instantly.
Here are simple steps to get started:
- You need to create Profile of Your Institute on ePravesh.com
- After Profile creation you would get credentials to login to the system to kick start online admission process
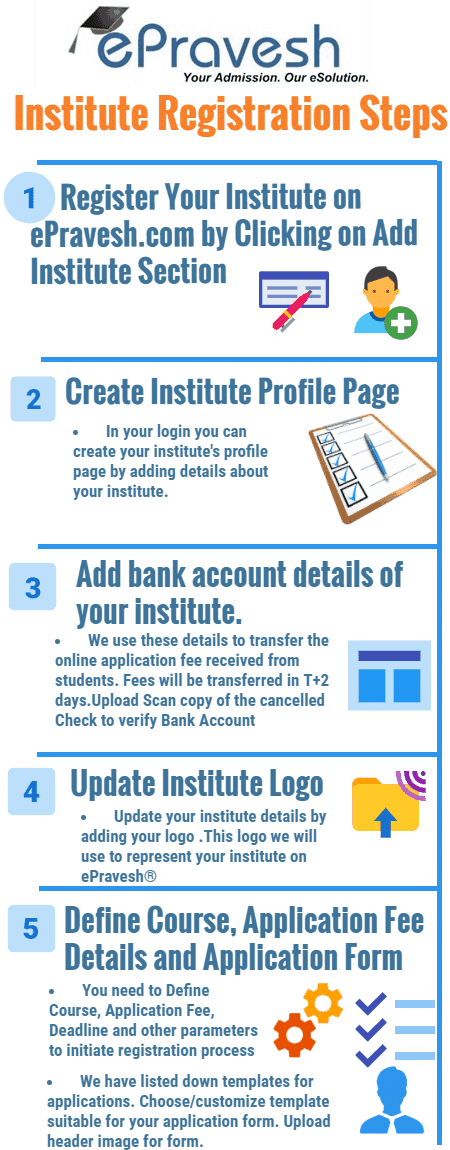
You can define institute Profile contents , update bank details for online payment payouts, define courses and define application form template fields.
[arve url=”https://www.youtube.com/watch?v=dZcLYrPuD6s” align=”center” loop=”yes” muted=”yes” /]
Institute Online Admission Initiation steps for ePravesh.com
 Step 1 : Create your institute profile page.
In your login create your institute profile page by adding details about your institute.Step 2 : Add bank account details of your institute.
Add your institutes bank account details. We use thses details to trasfer the online application fee received from students. Fees will be transfered in T+2 days.Step 3 : Update institute details.
Updated your institute details by adding your logo and other details. This logo we will used to represent your institte on ePravesh®
Step 4 : Define courses,Application fee.Create your course, add application fee details. Define your form no series.
Step 5 : Define application form for the course
We have listed down templates for application choose/customize template suitable for your application form. Upload header image for form.
ePravesh has provided facility to select 3 types of application forms e.g. school application form, college application form or institute event application form. You can select one of the form for your course.
After Completing all above steps your application form is ready you will start receiving application forms online.Unique course form will be generated for you that can be used for integration at your website.