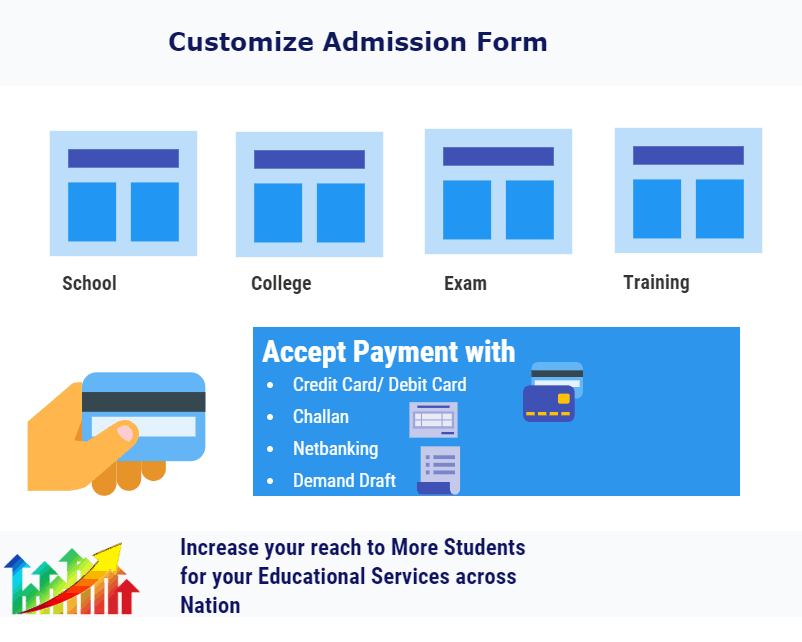

Admission Process simplification is essential to make institute stakeholders happy and it can also save significant cost. ePravesh.com has introduced automation for the design of the form.
The education sector has undergone an enormous transformation in recent years, and that process is continuing to this day. Technology has made its way to the education sector and has revolutionized it, to the benefit of everyone.
[arve url=”https://www.youtube.com/watch?v=S7FIs5lKYJo” align=”center” /]Technology has made education dynamic and more accessible to society. It has also ushered in the much-needed reforms, which were the need of the time. In a country like India, where its student population, at approximately three hundred and fifteen million, is larger than the world’s third most populous country, it essential that technology is incorporated with the education sector.
Technology helps bridge the gap between educational institutes and their students. It brings students and institutes closer, makes them more accessible and approachable to students.
This piece of content will walk you through one such piece of technology:

Article Contents
Online Admission Forms
Online admissions are a recent trend in the education sector and a boon to millions of students.
To pursue higher education students often travel and migrate to cities far off, sometimes even migrating to different countries for better educational opportunities. In this case, online admission systems are a boon to students and educational institutes alike.
Students can seek relevant information about infrastructure, faculty, departments and so on via these online admission systems. But more importantly, students can fill these online admission forms for college and school admission forms from the comfort of their homes and without any hassle.
Online Admission Forms bridge the gap of the geographical barrier between students and educational institutions.
Now students don’t have to travel to fill out offline admission and registration forms at the institutions. This is a very comfortable and hassle-free process, benefiting students and educational institutions alike.
Having a well designed online admission form is a very important process for educational institutions, admissions, after all, are perhaps the most important aspect of any educational institute. An admission form is the first impression an educational institute will have on the prospective students.
Online admission forms should be concise, well designed and easy to understand and glide through. Here are some simple steps in which you can automate your admission process and design different types of online admission forms and online registration forms:


Here are simple steps to automate your admission form process
[arve url=”https://www.youtube.com/watch?v=dZcLYrPuD6s” align=”center” /]Based on your education institute and need of registration/ form filling process, you can define the form accordingly. Instant design of the form can save lot of cost related to manually designing the form and handing over it for printing and distributing it.
Online form can save all such costs and accuracy of the admission process can be improved with it.
School Admission Form

One of the most important parameters of school admissions is the age of the student. You should design the form in such a way that there is a facility to verify the age of the student, only after which the form filling process will continue. This preliminary step of age verification will help your institute avoid invalid and/or incorrect forms.

Other parameters like parent and guardian details and contact details and information, parent and guardian income are also critical to the admission of the student. Such fields are important to verify the eligibility of the student for admission.
Having an online admission form is better than the traditional way of filling school forms at school offices is that, most primarily, it saves a lot of time. Parents and guardians don’t have to stand in long queues to fill out these forms. The digital way of filling online admission forms for school also helps in saving a lot of manpower and human labour.
Another key advantage of online admission forms is that they are easy to record. Thus schools have an online database of students and admissions. This online database is much safer and more secure than a physical database.
Graduate Admission Form
A few essential parameters for the eligibility of candidates for admission for a graduate course are their marks in grade 10th and grade 12th or equivalent exams and their education history along with other details like category, household income, address details and special reservation eligibility like physically handicapped, defense families, etc.
This information, along with their photograph should be recorded in the online admission form.
The benefits of having an online admission form for college admissions is that students save a lot of time and money by not needing to travel to the institute from their hometown to confirm their admission or registration.
Post Graduation Admission Form
For post-graduation online admission forms, candidates’ score in the entrance examination along with their overall performance and GPA in their graduate course are important parameters.
Other factors like reservation status, economic background of the applicant and special reservation status like physically handicapped should be recorded in the online admission forms to generate merit lists or admission lists for the educational institute.
An online admission form for postgraduate admissions is much more convenient than offline forms because students can fill these forms and get their documents verified from the comfort of their home.
These online admission forms for college are much easier to maintain. The educational institute can easily maintain a database of online forms as compared to traditional pen-paper based offline forms.
Here is one of the case study of leading university has automated Online Admission process
[arve url=”https://www.youtube.com/watch?v=W3HnFbYA99A” align=”center” /]Fee Collection Form
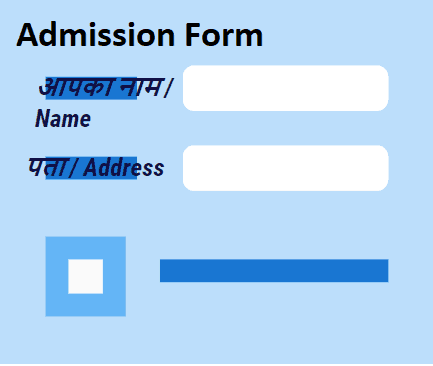
For designing a fee collection form student information like name, roll number, course number and course name and fee details must be recorded in the online form.
Students can make the payment via a receipt generated online or via internet banking. Fee collection forms help reduce the hassle of going to a bank and physically paying the college fees.
Using the digital way to collect fees can reduce many administrative tasks like financial reports, reconciliation reports, pending fees reports, per-student fee collection analysis. All of these things get simplified by using the Online Fee Collection Process.
This way is much better than the traditional way of paying fees because students don’t have to waste time standing in the long lines at the bank. They can just pay the fees with the click of a few buttons from anywhere
[arve url=”https://www.youtube.com/watch?v=tbUJjnLsin4″ align=”center” /]
Here is how one of the leading institute has automated Fee Collection using ePravesh platform
[arve url=”https://www.youtube.com/watch?v=2E2DFxc5fBM” align=”center” /]Educational Training Form
If an institution is conducting training or a workshop for students then only basic details like the student’s name, address and contact details are required.
This form is essentially a very simplified and basic version of a graduation form.
Event Registration form
If you or your educational institute is conducting an event or a programme where many people or other institutes will be participating, an online registration form will be of great use and importance for the event.
This form will be used to record basic details like the applicant’s or participant’s name, contact details, address and their educational institute’s details.
Thus, you can use the contact information recorded on this form to send details and updates about the event directly to the participants.
Having an online registration form for your event is of a great many benefits. Students and participants from multiple locations can now register for your event. This will help you popularise your event not only in your city but in many other cities as well.
Another benefit of an online registration form for your event is that you can now accurately estimate the number of participants to your event and this will help you in organization and logistics of the event.
Accepting Documents with Admission Form
As an educational institute or university, you need access to your students’ documents like Identity Proofs, Birth Certificates, State Domiciles, Marksheets, Leaving Certificates, etc.
All such documents can be accepted by epravesh.com in a digital way. The epravesh platform supports the document management system. Students can upload digital copies of their documents along with the form.
The digital copies of the documents can be verified by the admin panel of your institute.
The advantage of uploading documents and verifying them digitally is that it saves a lot of time and the whole admission process can be sped up to the benefit of students and the educational institute.
Now that we have discussed how you can design better online admission forms and online registration forms and their advantages over traditional, pen-paper based admission forms, let’s go over some Frequently Asked Questions (FAQs) about online admission forms.
[arve url=”https://www.youtube.com/watch?v=eZPYEF7G74o” align=”center” /]FAQ about Admission Form
How do I apply for college admission online?
Online Admission Processes are fairly easy to understand as compared to traditional, pen-paper based offline admissions.
All you have to do is go to your institute of choice’s website and find the link for the online admission form. Keep digital copies of all your important documents ready and also digital copies of your passport size photograph and an online signature.
Follow the steps of the online admission form and fill out genuine information needed for the admission form.
Once you are done filling all the details, click on the submit button and download a copy of the form on your electronic device.
Voila! Now you have submitted an online admission form without any hassle.
Easy! Isn’t it?
What is Online Admission?
Online Admission is the process in which you confirm your admission to an educational institute digitally, on an electronic device.
Online Admission Processes constitute of Online Admission Form(s) in which you fill in all the necessary details, much like offline admission forms, but digitally.
Online Admissions are much more hassle-free than offline admissions and easier to navigate through.
What is a Centralized Admission Process (CAP)?
[arve url=”https://www.youtube.com/watch?v=VOchJ4cykJE” align=”center” /]A Centralized Admission Process is basically a platform where admissions to all courses to students from anywhere and everywhere are conducted across one single platform.
A CAP saves students, institutes and universities a lot of time and tons of paperwork. There are five entities involved in a Centralized Admission Process:
- Students/Applicants
- Admission Committee
- Colleges
- Universities
- Administrators
In a CAP, students have to give only one exam. After the exam is conducted and the results are declared, college and universities release their cut-off lists for various courses. Thus students are allotted a course and a college based on their result and the cut-offs of the colleges.
Which important documents do I need for online admissions?
Documents like Standard 10th mark sheet, Standard 12th mark sheet, Domicile, Identity Proofs, Admit Cards, etc. are of vital importance. It is essential that the original documents are kept safe, as they are required by many, if not all admission processes.
Once lost or damaged, students have to go through many difficulties to get a new copy of the document. This process usually involves bureaucracy and is time-consuming.
Hence, you should have digital copies of these documents ready, so that you always have a back up ready.
Having digital copies of your documents is also important because you can thus upload them to online admission forms and online registration forms with one click!
ePravesh.com supports all kinds of admission form designing and you can activate your admission process instantly. There is facility to upload logos/ form headers/ institute images on the admission form.
[optin-monster-shortcode id=”v7v5q56w27us8etn”]

ePravesh.com is an award winning online admission & Fee Collection System successfully used by many education institutes and universities across India. We have many success stories of technology adoption for institutes to simplify admission process.
You can register and get started with ease.